Key takeaways
- A Phillips screwdriver, ideally magnetic, so you don’t lose the tiny standoff screw.
- Your M.2 NVMe SSD in the correct length and generation for your board.
- An M.2 mounting screw kit if your motherboard didn’t include one, such as an ASTARON or generic NVMe screw set.
- An anti-static habit: touch a bare metal part of the case to discharge static before handling the drive.
Installing an M.2 NVMe SSD is one of the easiest and most rewarding PC upgrades you can do. In about ten minutes and with a single screwdriver, you can add blisteringly fast storage that slashes boot times, shortens game loads, and gives your system room to breathe. If you’ve never opened your PC before, don’t worry, the process is genuinely beginner-friendly once you know the steps.
This guide walks you through the whole job in 2026, from picking a compatible drive to seating it correctly and initializing it in Windows. We’ll cover the small parts that trip people up, like the tiny mounting screw and the heatsink, so your new NVMe drive is running at full speed the first time you power on.
Our top picks


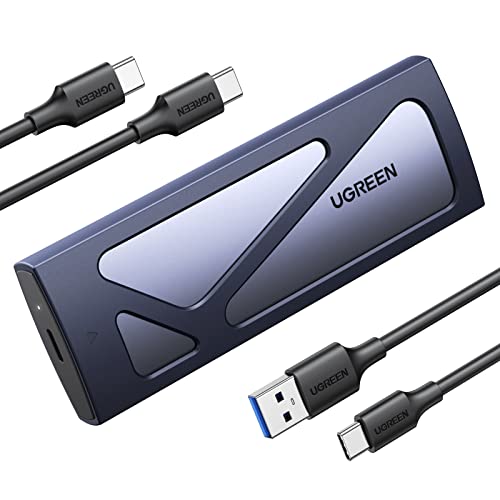
As an Amazon Associate we earn from qualifying purchases at no extra cost to you. Ratings are shown as listed on Amazon.
⚡ Save on Your Next PC — Amazon Prime
Prime members get fast free shipping on the systems above, plus early access to Prime Day & Black Friday PC deals. New members get a 30-day free trial.
Watch: How to Install an M.2 NVMe SSD — Video Review
Check Compatibility First
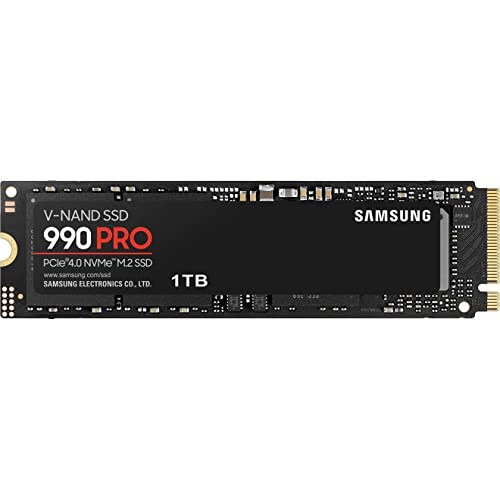
Before you buy, confirm your motherboard has a free M.2 slot and which PCIe generation it supports. A Gen4 slot delivers up to around 7,000MB/s with a drive like the Samsung 990 PRO, while a Gen3 slot caps a Gen4 drive at slower speeds, though it will still work. Most desktop drives use the 2280 length; laptops and handhelds often need the shorter 2230 size, so match the form factor to your slot.
Gather Your Tools and Parts
- A Phillips screwdriver, ideally magnetic, so you don’t lose the tiny standoff screw.
- Your M.2 NVMe SSD in the correct length and generation for your board.
- An M.2 mounting screw kit if your motherboard didn’t include one, such as an ASTARON or generic NVMe screw set.
- An anti-static habit: touch a bare metal part of the case to discharge static before handling the drive.
Seat the Drive Correctly
Power the PC off fully and unplug it. Locate the M.2 slot, remove any pre-installed heatsink cover, and place the standoff at the length marker for your drive. Insert the SSD into the slot at roughly a 30-degree angle until the gold contacts disappear, then press the far end down flat and secure it with the small mounting screw. Don’t overtighten, the screw only needs to hold the drive gently in place.
Add the Heatsink and Close Up
High-performance Gen4 and Gen5 drives run hot under load, so use your motherboard’s M.2 heatsink or one bundled with the drive. Peel the thermal pad’s protective film, lay the heatsink over the SSD, and screw it down. A cool drive maintains its rated speeds during long game loads or file transfers instead of thermal-throttling. Reattach your side panel and reconnect power.
Initialize in Windows
Boot into Windows, right-click the Start button, and open Disk Management. Your new drive appears as unallocated space and prompts you to initialize it, choose GPT for any modern system. Then right-click the unallocated space, create a new simple volume, assign a drive letter, and format it as NTFS. Your SSD is now ready to hold games, projects, or a fresh OS install.
Tips
- If the drive doesn’t appear at all, reseat it and check your BIOS to confirm the M.2 slot is enabled, since some boards share bandwidth between M.2 and SATA ports.
- Keep the tiny standoff screw in a small dish while you work, it’s the number-one part people lose under a desk.
- Always use a heatsink on Gen4 and Gen5 drives to prevent throttling during sustained loads.
- To clone your existing OS onto the new drive, use free migration software before removing the old disk, then set the SSD as the boot device in BIOS.
Frequently Asked Questions
Do I need to remove other components to install an M.2 SSD?
Usually not. Most M.2 slots are accessible once the side panel is off, though occasionally a slot sits under the GPU or a heatsink you’ll need to unscrew first. Rarely do you have to remove the graphics card.
Which side does the M.2 drive face?
The label and gold contacts orient so the notch in the connector lines up with the key in the slot, it only fits one way. Insert at an angle, and the drive naturally rests with the chips facing up on most boards.
Do I need a heatsink for my NVMe SSD?
For Gen4 and Gen5 drives, yes, a heatsink prevents thermal throttling under sustained load. Slower Gen3 drives run cool enough that a heatsink is optional but still helpful.
Why isn’t my new SSD showing up?
A brand-new drive is unformatted and won’t appear in File Explorer until you initialize it in Disk Management. If it’s missing there too, reseat the drive and enable the M.2 slot in BIOS.
Conclusion
Installing an M.2 NVMe SSD is a fast, low-risk upgrade that transforms how responsive your PC feels. Buy the right length and generation for your slot, seat the drive gently, add a heatsink to a fast Gen4 or Gen5 model, and initialize it as GPT in Windows. Ten minutes of work buys you years of quicker boots, faster loads, and breathing room for your growing library, one of the best value upgrades in any build.